


News


Electric Scooter Assembly Guide: Precautions and Tips
Electric Scooter Assembly Guide: Precautions and Tips
With the increasing congestion of urban traffic, electric scooters, as a convenient and environmentally friendly short-distance transportation tool, have been favored by more and more people. However, for many users who are new to electric scooters, how to properly assemble an electric scooter may be a big challenge. Today, let us take a deep look at the precautions when assembling an electric scooter to help you easily complete the assembly and enjoy the fun of riding.
1. Preparation: Lay a good foundation to ensure smooth assembly
(I) Understand the structure of the scooter
Before starting to assemble, it is very important to have a general understanding of the basic structure of the electric scooter. The electric scooter is mainly composed of a body, wheels, motor, battery, controller, brake system and other parts. Understanding the functions and relationships of each component will help you be more handy during the assembly process, and it will also facilitate maintenance and troubleshooting in future use.
(II) Prepare tools and materials
In order to successfully complete the assembly, you need to prepare some basic tools and materials. Common tools include wrenches, screwdrivers, hex wrenches, wire cutters, etc. In addition, you may need to prepare some auxiliary materials, such as cable ties, insulating tape, etc., for fixing cables and insulating them. Ensuring that the tools are complete and in good condition can improve assembly efficiency and avoid assembly delays or operational errors caused by tool problems.
(III) Choose a suitable assembly environment
It is very necessary to choose a spacious, bright, and well-ventilated space for assembly. This will make it convenient for you to place tools and parts, and avoid inconvenience in operation or loss of parts due to small space. At the same time, good lighting conditions will help you clearly see the various components and connection points to ensure the accuracy of assembly. In addition, a well-ventilated environment can prevent discomfort caused by the accumulation of odors emitted by components such as batteries.
II. Assembly process: meticulous and ensure accuracy in every link
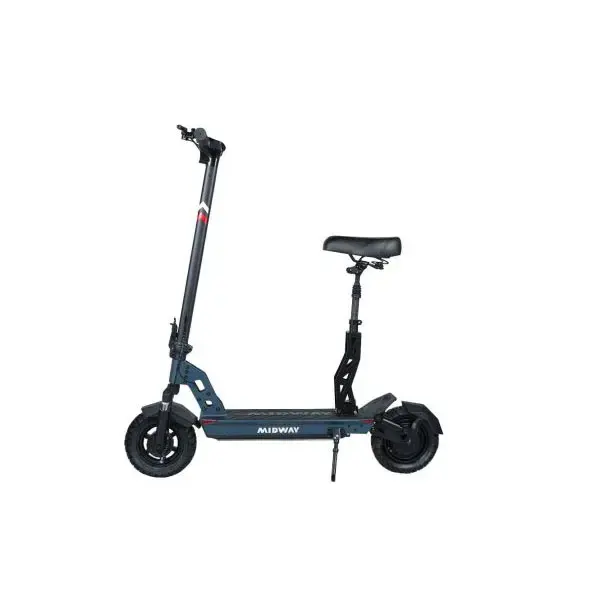
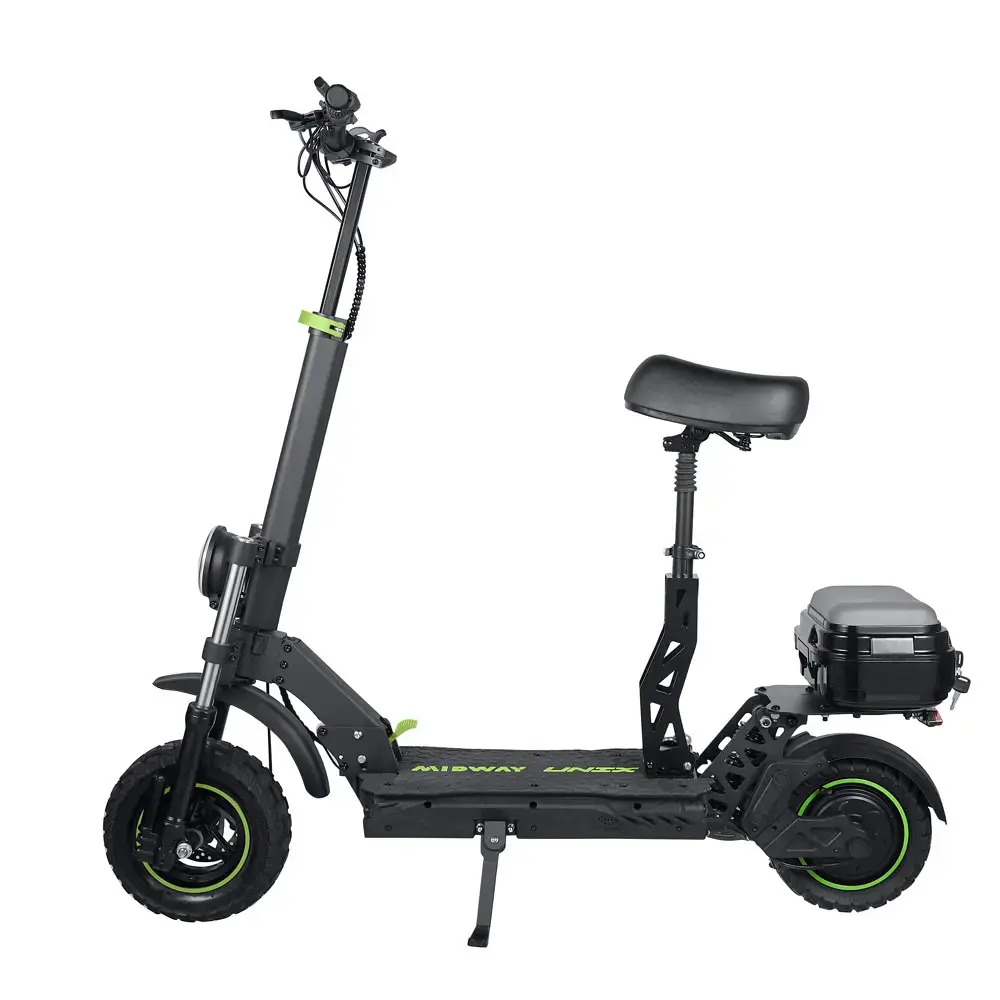
(I) Body assembly: build a stable frame
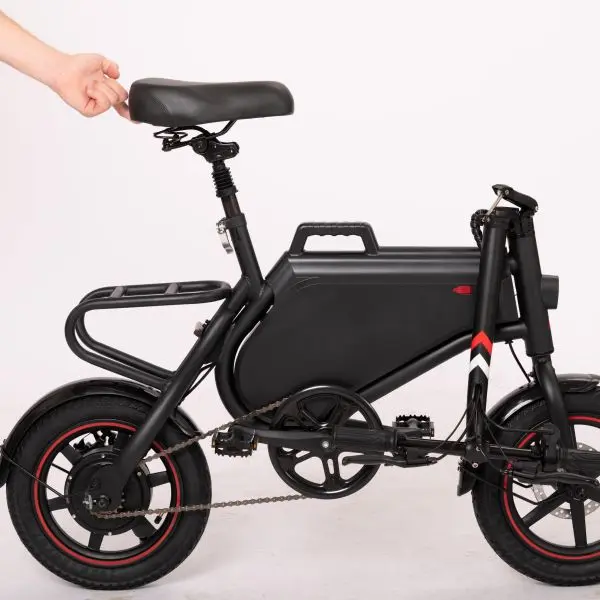
Install the body and riser: insert the body into the riser to ensure that the two fit tightly. During the insertion process, pay attention to keeping the body vertical and stable to avoid excessive force that may cause deformation or damage to the components. Then, use screws to fix the connection between the body and the riser. The tightening torque of the screws should be appropriate. It should not be too loose to cause the body to shake, nor too tight to avoid damaging the threads or parts.
Install the handlebars and the front of the vehicle: Install the handlebars on the body, adjust the angle and position of the handlebars to make it ergonomic and easy to operate and control the direction. When the front part is connected to the riser, ensure that the connection is firm and the front can rotate flexibly without jamming. During the installation process, be careful not to damage the surface coating of the handlebars and the front of the vehicle to avoid affecting the appearance.
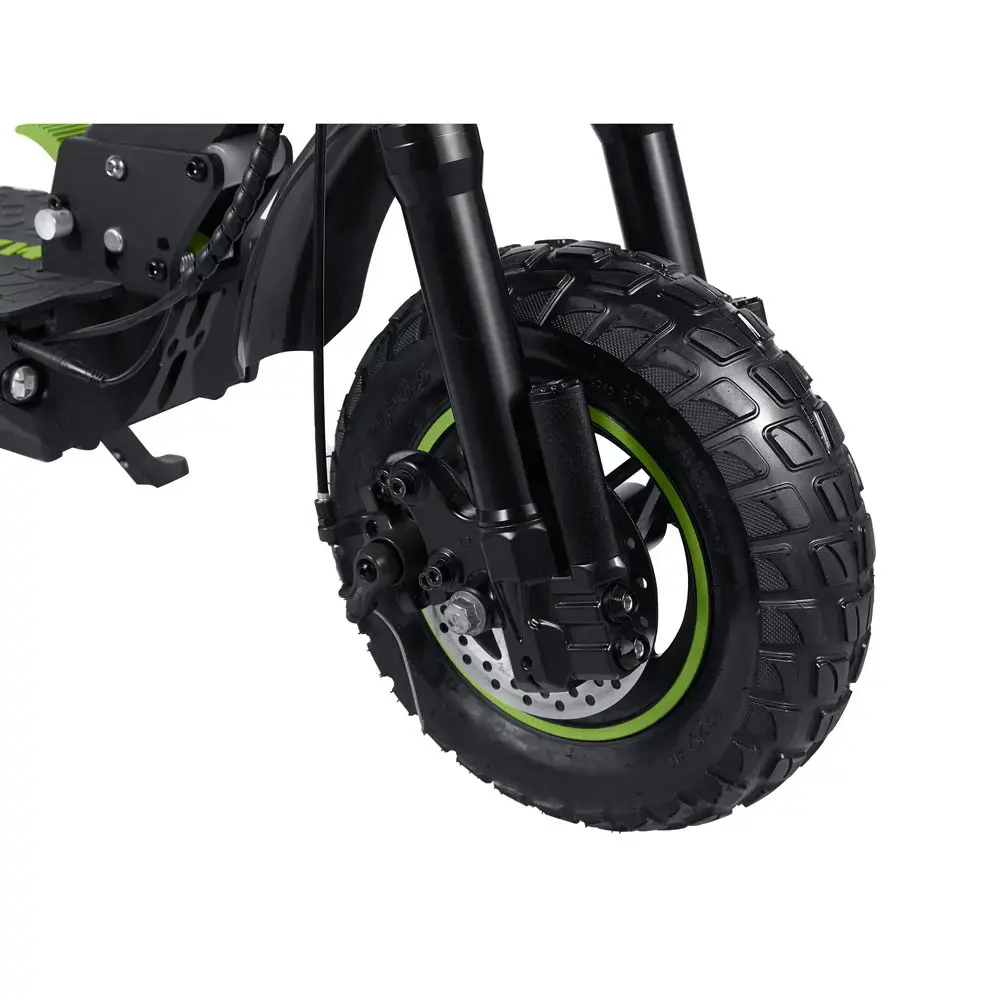
(II) Installation of wheels and brake systems: Ensure driving safety and stability
Install wheels: Install the wheels on the wheel bracket and ensure that the connection between the wheels and the bracket is firm and reliable. During the installation process, pay attention to the installation direction and position of the wheels so that the wheels can roll smoothly without swaying. At the same time, check whether the wheel bearings are well lubricated to ensure smooth rotation of the wheels.
Install the brake system: The installation of the brake system is crucial and directly related to the safety of riding. Whether it is a mechanical brake or an electronic brake, it must be installed and debugged strictly in accordance with the requirements of the instructions. For mechanical brakes, make sure that the brake line is connected correctly, the brake caliper fits the wheel tightly, and the braking force is moderate. For electronic brakes, check whether the connection between the sensor and the controller is firm, the brake signal is transmitted accurately, and the brake response is sensitive and reliable.
(III) Motor and battery installation: provide power and energy guarantee
Mount the motor: Install the motor in the specified position, usually near the wheel or inside the frame. During the installation process, make sure that the motor is firmly fixed to avoid abnormal vibration or noise during operation due to loose motor. At the same time, check whether the connection between the motor output shaft and the wheel is accurate to ensure smooth and efficient power transmission.
Install the battery: The battery is the power source of the electric scooter, and special attention should be paid to safety during installation. Install the battery in the battery compartment and ensure that the battery fixing device is installed in place to prevent the battery from shaking or shifting during the scooter's driving. When connecting the battery to the controller and the motor cable, carefully check the connection sequence and polarity of the cable to avoid short circuit or other electrical faults caused by wrong connection.
(IV) Control system installation: achieve precise control and function adjustment
Install the controller: The controller is one of the core components of the electric scooter and is responsible for coordinating the work of various components. Install the controller in a suitable location, usually close to the battery or motor, to facilitate the connection and layout of the cables. During the installation process, pay attention to the protection of the controller to avoid damage such as squeezing, collision or water ingress. When connecting the cables of the controller to the motor, battery, brake system and other components, ensure that the connection is firm and the interface is plugged and unplugged smoothly to avoid control failure due to poor contact.
Install the throttle controller and other auxiliary equipment: The installation position of the throttle controller should be convenient for operation, usually installed on the handlebar. During installation, ensure that the throttle controller is correctly connected to the controller and the throttle signal is transmitted accurately to avoid throttle failure or slow response. In addition, if the scooter is equipped with auxiliary equipment such as lights and horns, they must also be installed and connected in accordance with the requirements of the manual to ensure their normal operation.
(V) Cable layout and connection: neat and standardized to ensure electrical safety
During the assembly process, the layout and connection of cables is a key link. All cables should be arranged along the prescribed path to avoid entanglement, pulling or friction with moving parts to prevent cable damage from causing short circuits or other electrical faults. For the extra cables, you can use cable ties to organize and fix them, so that they are neat and beautiful without affecting the installation and operation of other components. When connecting the cables, carefully check the matching of the plug and the socket to ensure that the connection is firm and reliable, and avoid malfunctions or safety hazards caused by poor contact.
III. Debugging and testing: comprehensive inspection to ensure performance and safety
(I) Preliminary inspection
After completing the assembly, first conduct a comprehensive preliminary inspection. Check whether all screws and nuts are tightened, whether the connections of each component are firm, and ensure that there are no missing or loose places. Check whether the wheels can rotate freely, whether the brake system is working properly, whether the throttle controller is sensitive and effective, etc. In addition, check whether the battery power display is normal, whether the appearance of the scooter is damaged or scratched, etc.
(II) Functional test
After ensuring that the preliminary inspection is correct, perform a functional test. Place the scooter on a flat and open field, turn on the power, and test each function according to the operating instructions in the manual. Test whether the scooter's start, acceleration, deceleration, braking and other operations are normal, and whether there is any abnormal noise or vibration during driving. At the same time, check whether the steering of the scooter is flexible and stable, and whether the auxiliary equipment such as lights and horns can work normally.
(III) Safety test
Safety test is an essential link after assembly. Focus on testing the performance of the braking system to ensure that the brakes can stop the scooter in time and effectively at different speeds to avoid brake failure or excessive braking distance. In addition, the stability of the scooter during driving should be tested, especially when turning, accelerating and decelerating, whether there will be unsafe phenomena such as body tilting and shaking. If problems are found, they should be adjusted and repaired in time to ensure that the safety performance of the scooter meets the requirements.
IV. Personalized customization and optimization: creating a unique riding experience
(I) Appearance decoration
In order to make your electric scooter more personalized and stylish, you can decorate its appearance. Choose your favorite color, pattern or sticker to decorate the body, handlebars and other parts of the scooter to make it look brand new. In addition, you can also install some personalized accessories, such as lights, rearview mirrors, mobile phone holders, etc., to enhance the practicality and aesthetics of the scooter.
(II) Performance optimization
According to your personal riding needs and habits, you can optimize the performance of the electric scooter. For example, adjust the power output of the motor to adapt to different road conditions and riding speed requirements; optimize the battery management system to extend the battery life and mileage; upgrade the brake system to improve braking performance and safety, etc. However, when optimizing performance, pay attention to follow the relevant technical specifications and safety standards to avoid scooter failures or safety hazards due to improper operation.
V. Common problems and solutions: Coping with challenges in the assembly process
(I) Difficulty in component installation
During the assembly process, you may encounter some difficulties in component installation, such as difficult screws to tighten and small component gaps. When encountering this situation, do not rush to install it with force to avoid damaging the components or causing safety hazards. You can first carefully check whether the installation position and direction of the components are correct. After confirming that they are correct, try to install them using appropriate tools and methods. If you still cannot solve the problem, you can refer to the scooter's manual or consult a professional technician for help and guidance.
(ii) Electrical connection problem
Electrical connection problem is one of the more common problems in the assembly process, such as wrong cable connection, poor contact, short circuit, etc. When encountering electrical connection problems, first cut off the power supply to ensure safety. Then, carefully check whether the connection sequence and polarity of the cables are correct, and whether the plug and socket match and are firmly connected. If problems are found, correct and repair them in time. After the repair is completed, perform functional tests again to ensure that the electrical system is working properly.
(iii) Scooter instability or shaking
If the scooter is unstable or shaking after assembly, it may be caused by loose installation of components such as the body, wheels or handlebars. It is necessary to check the connection of the relevant components to ensure that all screws and nuts are tightened and there is no looseness or gap between the components. In addition, check whether the wheels are installed vertically and balanced, and whether the brake system is adjusted properly. By checking and adjusting one by one, find the root cause of the problem and solve it, so that the scooter can return to a stable and reliable driving state.
VI. Maintenance and care: the key to extending the service life of the scooter
(I) Daily cleaning
Clean the electric scooter regularly to keep its appearance neat and the parts in good condition. Use a soft cloth to dip in an appropriate amount of clean water or special detergent, and gently wipe the body, handlebars, wheels and other parts to remove dust, stains and oil. Be careful to avoid water entering the battery, motor, controller and other electrical components to prevent short circuits or other electrical failures. After cleaning, place the scooter in a well-ventilated place to dry.
(II) Battery maintenance
The battery is one of the core components of the electric scooter. The correct maintenance method can extend the battery life. Avoid overcharging or over-discharging the battery, and charge and use it according to the requirements of the manual. Check the battery power status and health status regularly. If the battery life is significantly reduced or other abnormal conditions are found, repair or replace it in time. In addition, when the scooter is not used for a long time, the battery should be fully charged and stored, and a charge and discharge cycle should be performed at regular intervals to maintain the activity of the battery.
(III) Maintenance of mechanical parts
Perform regular maintenance on the mechanical parts of the scooter, such as wheel bearings, motor bearings, and brake systems, to ensure smooth and reliable operation. Use an appropriate amount of lubricating oil to lubricate bearings and other parts to reduce friction and wear. Check the wear of the brake system and replace the brake pads or discs that are severely worn in time. At the same time, check the balance and tightness of the wheels to ensure stability and safety during driving.
In short, the assembly of electric scooters requires attention to many aspects, from preparation to assembly process, to debugging and testing and subsequent maintenance, each link is crucial. Through careful assembly and debugging, ensure that the performance of the scooter is in the best condition, providing you with a safe, convenient and comfortable experience for travel. I hope the above content can help you successfully complete the assembly of the electric scooter and open a new chapter in green travel!