


News


Electric Scooter Brake System Installation Guide: Key Steps and Practical Tips
Electric Scooter Brake System Installation Guide: Key Steps and Practical Tips
With the increasing congestion of urban traffic, electric scooters, as a convenient and environmentally friendly short-distance means of transportation, have been favored by more and more people. However, for many users who are new to electric scooters, how to correctly install the brake system may be a big challenge. Today, let us take a deep look at the key steps when installing the electric scooter brake system to help you easily complete the installation and ensure riding safety.
1. Preparation: Lay a safety foundation
(I) Understand the structure of the scooter
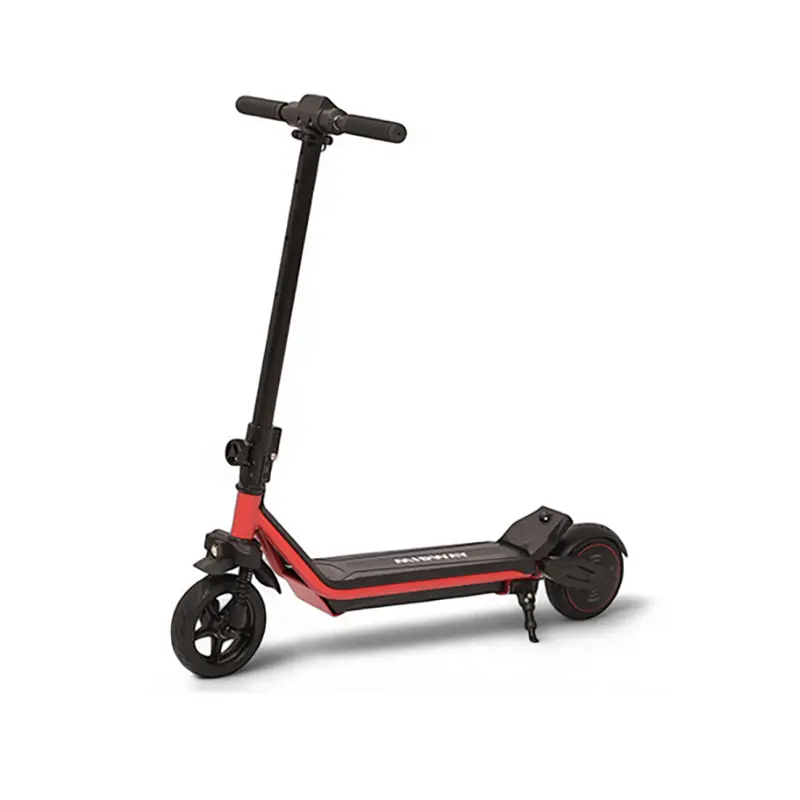
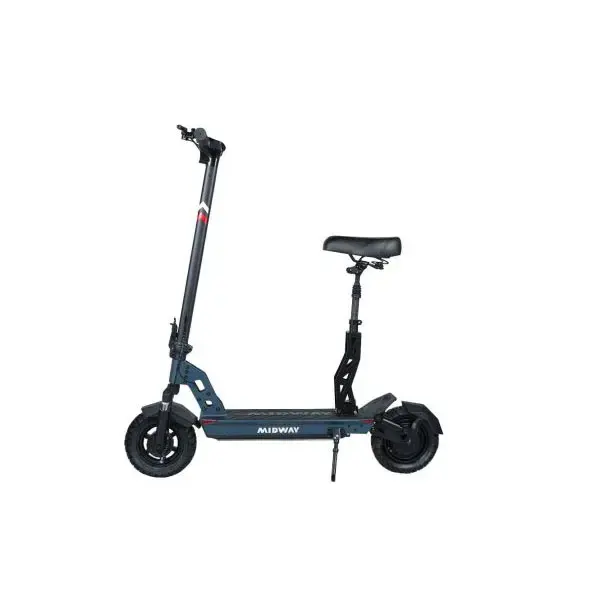
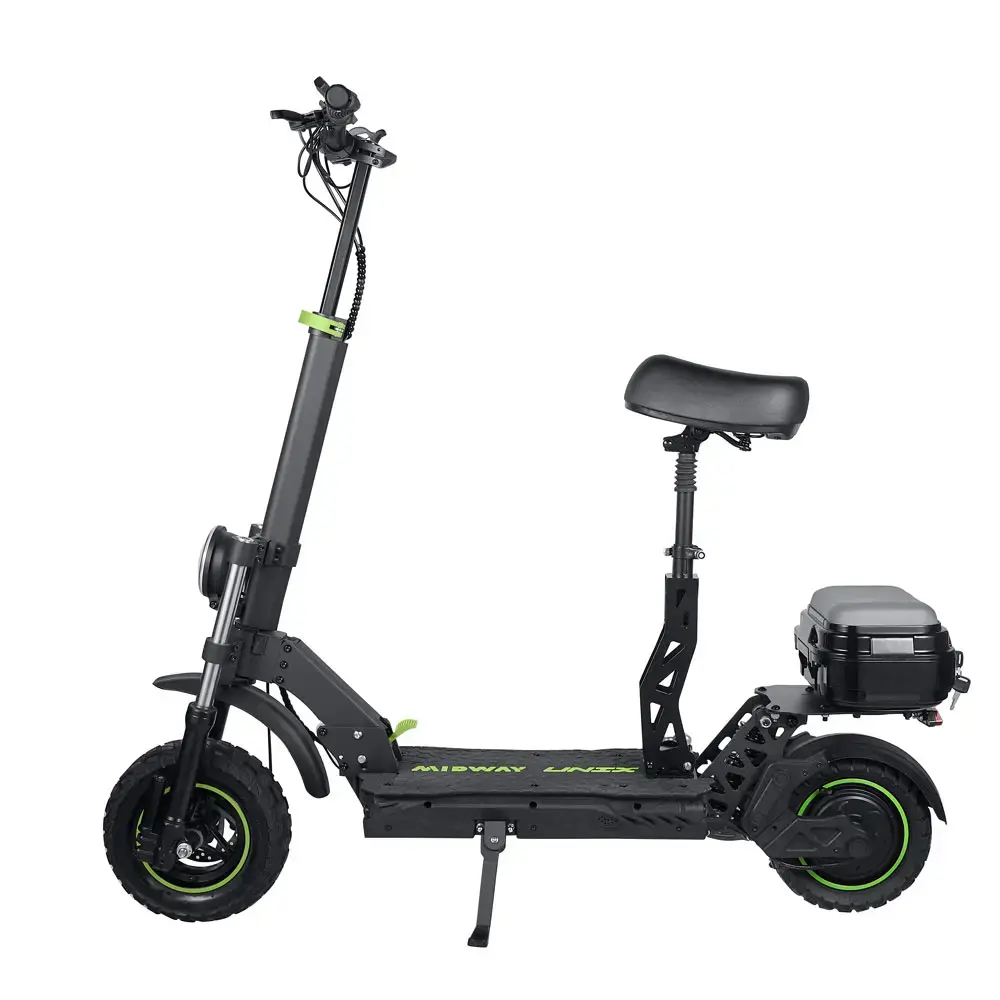
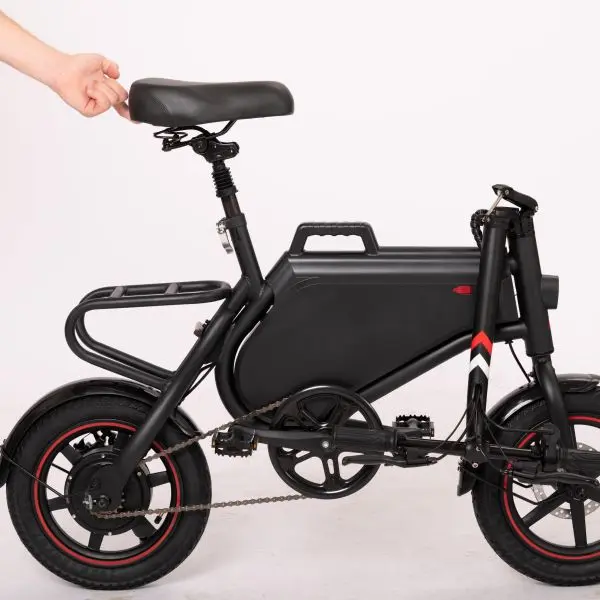
Before starting to install the brake system, it is very important to have a general understanding of the basic structure of the electric scooter. The electric scooter is mainly composed of the body, wheels, motor, battery, controller, brake system and other parts. Understanding the functions and relationships of each component will help you be more handy during the installation process, and it will also facilitate maintenance and troubleshooting in future use.
(II) Prepare tools and materials
In order to successfully complete the installation of the brake system, you need to prepare some basic tools and materials. Common tools include wrenches, screwdrivers, hex wrenches, wire cutters, etc. In addition, you may need to prepare some auxiliary materials, such as cable ties, insulating tape, etc., for fixing cables and insulating treatment. Ensuring that the tools are complete and in good condition can improve installation efficiency and avoid installation delays or operational errors caused by tool problems.
(III) Choose a suitable installation environment
It is very necessary to choose a spacious, bright and well-ventilated space for installation. This will make it convenient for you to place tools and parts, and avoid inconvenience in operation or loss of parts due to small space. At the same time, good lighting conditions will help you clearly see the various components and connection points to ensure the accuracy of installation. In addition, a well-ventilated environment can prevent discomfort caused by the accumulation of odors emitted by components such as batteries.
2. Installation process: precise operation to ensure safety
(I) Mechanical brake system installation
Install the brake disc
Install the brake disc on the wheel hub to ensure that the connection between the brake disc and the wheel hub is firm and reliable. Usually, the brake disc is fixed to the wheel hub with screws. During installation, the screws should be tightened according to the specified torque to avoid displacement or loosening of the brake disc during driving due to loose screws, which will affect the braking effect.
Check whether the brake disc is installed in the correct position and ensure that it corresponds to the position of the brake caliper so that it can accurately contact the brake pad when braking to achieve effective braking.
Install the brake caliper and brake pad
Install the brake caliper on the frame or wheel bracket, and keep the position at an appropriate distance from the brake disc so that the brake pad can contact the brake disc smoothly. During the installation process, pay attention to the fixing method of the brake caliper, which is usually fixed with screws or bolts to ensure that it will not loosen or shift during driving.
Install the brake pad in the brake caliper, ensuring that the brake pad is installed in the correct direction and the contact surface with the brake disc is flat. After installation, check the thickness and quality of the brake pad to ensure that it can provide sufficient friction for effective braking. If the brake pad is too thin or of poor quality, it may result in poor braking effect or even brake failure.
Install the brake cable and tie rod
For mechanical brake systems, you need to install the brake cable and tie rod to connect the brake handle to the brake caliper. Fix one end of the brake cable to the brake handle and pass the other end through the wire tube of the frame or handlebar to connect to the brake caliper. During the installation process, ensure that the brake line runs smoothly without twisting or jamming, so that the brake caliper can respond promptly and accurately when the brake handle is operated.
Adjust the tightness of the brake line to ensure that the brake handle can generate sufficient braking force when operated. The tightness of the line can be adjusted by adjusting the adjustment nuts at both ends of the brake line to make the brake system sensitive and reliable when operated.
(II) Installation of electronic brake system
Install the brake sensor and controller
Install the brake sensor in a suitable position, usually near the wheel or on the handlebar, so that the brake signal can be accurately detected. During the installation process, ensure that the sensor is firmly fixed to avoid displacement or damage of the sensor due to vibration or collision, which affects the transmission of the brake signal.
Install the brake controller near the battery or motor to facilitate the connection and arrangement of the cables. When installing the controller, pay attention to its protective measures to avoid damage such as squeezing, collision or water ingress. When connecting the cables between the controller and the sensor, motor, battery and other components, ensure that the connection is firm and the interface is plugged in and out smoothly to avoid failure of the brake system due to poor contact.
Connect the motor and battery
Connect the motor to the output terminal of the brake controller, and ensure that the polarity and sequence of the connecting cables are correct. Incorrect connection may cause the motor to malfunction or reverse and other abnormal conditions, affecting the braking effect.
Connect the battery to the power terminal of the brake controller, and also pay attention to the accuracy and firmness of the connection. Ensure that the battery can provide a stable power supply for the brake system to avoid failure of the brake system due to power problems.
(III) Installation of the foot brake system
Install the brake pedal and pull rod
Install the brake pedal on the rear or side of the scooter, and the position should be convenient for foot operation. During the installation process, ensure that the brake pedal is firmly fixed, can withstand a certain amount of pedaling force, and will not loosen or fall off during use.
Connect the brake pedal to the pull rod of the rear wheel brake device, and ensure that the connection of the pull rod is firm and can flexibly transmit the brake signal. When installing the pull rod, pay attention to adjusting its length and position so that the brake pedal can effectively drive the rear wheel brake device when it is stepped on to achieve braking.
Install the rear wheel brake device
According to the design of the scooter, install the rear wheel brake device, such as brake shoes, brake drums, etc. During the installation process, ensure that the brake device fits tightly with the rear wheel and can generate enough friction when braking to stop the rear wheel from rotating. At the same time, check whether the brake device moves smoothly to avoid jamming or inflexibility, which will affect the braking effect.
3. Debugging and testing: comprehensive inspection to ensure performance and safety
(I) Preliminary inspection
After completing the installation of the brake system, first conduct a comprehensive preliminary inspection. Check whether all screws and nuts are tightened, whether the connections of various components are firm, and ensure that there are no missing or loose parts. Check whether the installation positions of components such as brake discs, brake pads, and brake calipers are correct, and whether the direction of brake lines and pull rods is smooth without twisting or jamming. In addition, check whether the cable connection of the electronic brake system is firm, and whether the installation of sensors and controllers meets the requirements.
(II) Functional test
After ensuring that the preliminary inspection is correct, perform a functional test. Place the scooter on a flat and open field, turn on the power, and test various brake functions according to the operating instructions in the manual. For mechanical brake systems, operate the brake handle to check whether the brake caliper can clamp the brake disc in time and accurately to generate sufficient braking force to stop or slow down the scooter. Repeatedly operate the brake handle to check the response speed and sensitivity of the brake system to ensure effective braking at different speeds.
For electronic brake systems, lightly step on the brake pedal to check whether the brake signal can be transmitted to the controller in time and whether the motor can respond quickly to slow down or stop. Check whether the braking process is smooth without abnormal shaking or noise. At the same time, test the braking performance of the scooter under different road conditions, such as dry roads, slippery roads, uphill and downhill, etc., to ensure that the brake system can work reliably under various conditions.
(III) Safety test
Safety testing is an essential link after installation. Focus on testing the performance of the brake system to ensure that the brakes can stop the scooter in time and effectively at different speeds to avoid brake failure or excessive braking distance. In addition, the stability of the scooter during driving should be tested, especially when turning, accelerating and decelerating, whether there will be unsafe phenomena such as body tilting and shaking. If any problems are found, timely adjustments and repairs should be made to ensure that the safety performance of the brake system meets the requirements.
4. Maintenance and care: Extending the service life of the brake system
(I) Regular inspection and adjustment
Regularly inspect and adjust the brake system to ensure that it is always in good working condition. Check the wear of the brake pads. If the brake pads are too thin or severely worn, they should be replaced in time to ensure the braking effect. Check whether there are scratches, deformations, etc. on the surface of the brake disc. If necessary, repair or replace them. At the same time, check the tightness of the brake line and the pull rod, and adjust them as needed to ensure the operational sensitivity and reliability of the brake system.
(II) Cleaning and lubrication
Keeping the brake system clean is an important measure to extend its service life. Regularly use a clean cloth or special cleaning agent to clean dust, oil and debris on the brake disc, brake pads, brake calipers and other components to prevent these impurities from affecting the braking effect or causing increased wear of the components. After cleaning, the moving parts of the brake system, such as the piston of the brake caliper and the sliding parts of the brake line, can be properly lubricated to reduce friction and wear and increase the service life of the components.
(III) Avoid abusing the brakes
In daily use, develop good driving habits and avoid abusing the brakes. Do not brake suddenly frequently, which will not only increase the wear of the brake system, but also may cause the braking effect to decrease. Try to predict the road conditions in advance, control the speed smoothly, and reduce unnecessary braking operations. When sliding downhill or over long distances, you can use engine braking or intermittent braking appropriately to reduce the burden on the brake system and extend its service life.
In short, the installation of the electric scooter brake system requires attention to key steps in many aspects, from preparation to installation process, to debugging and testing and subsequent maintenance. Every link is crucial. Through careful installation and debugging, ensure that the performance of the brake system is in the best state, providing safe and reliable protection for your travel. I hope the above content can help you successfully complete the installation of the electric scooter brake system and start a safe and convenient riding journey!